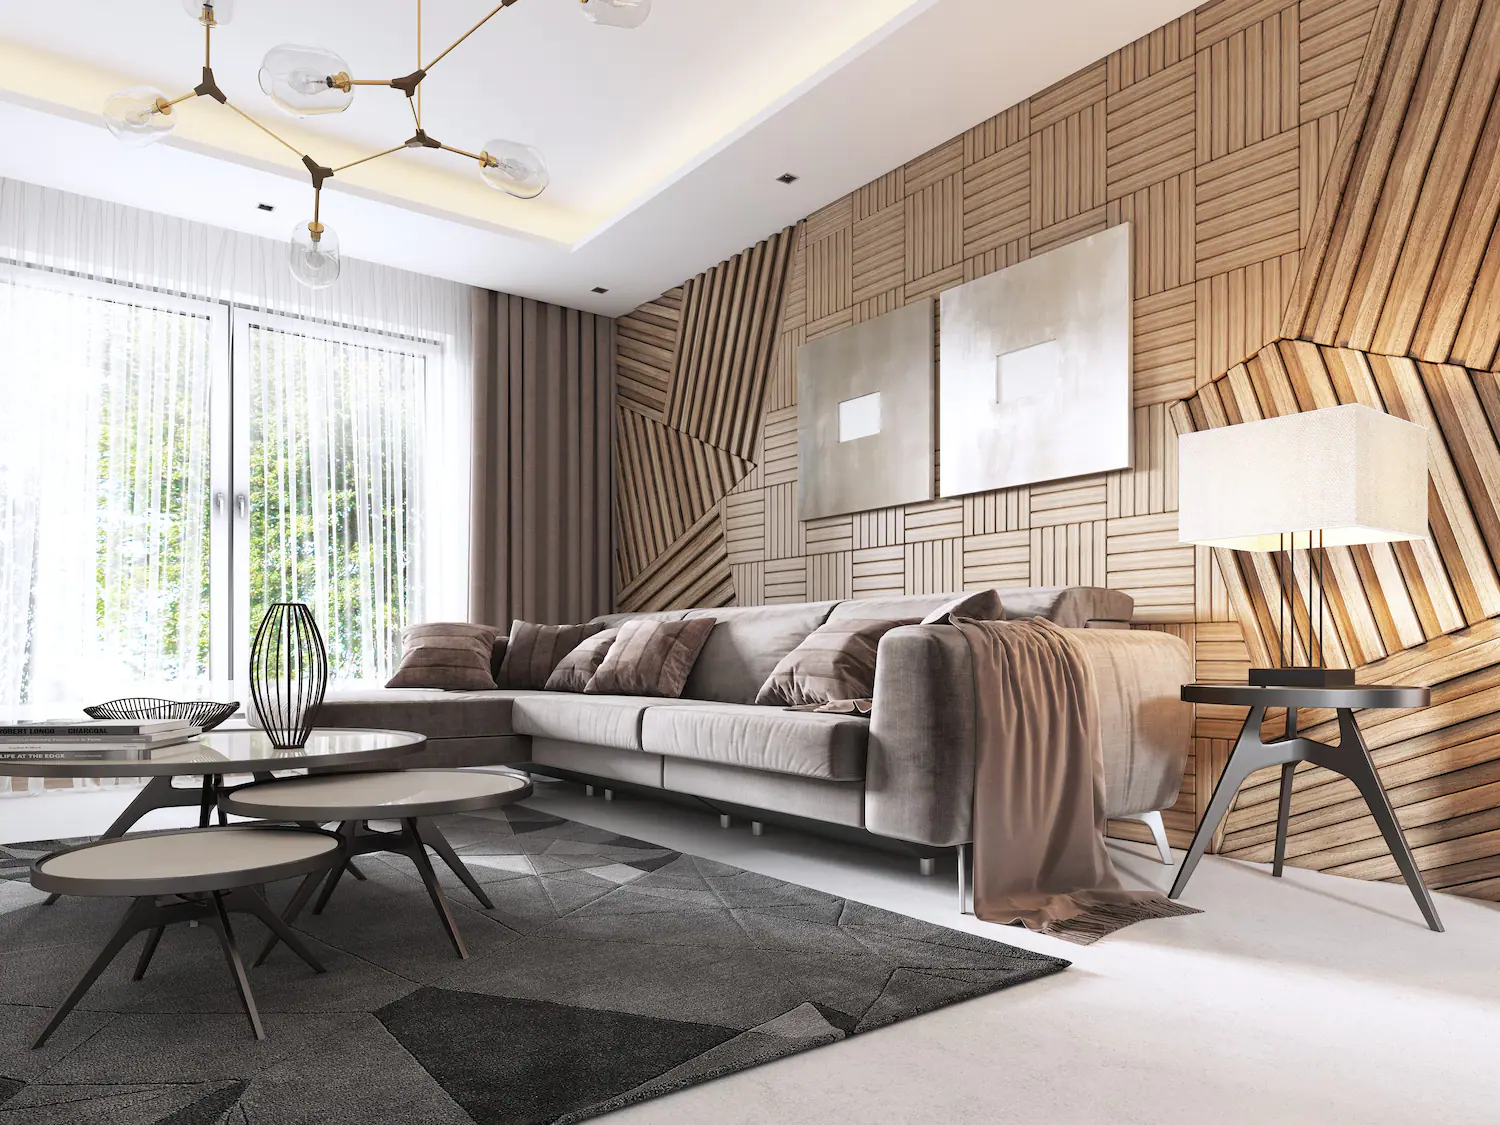
If your walls have some defects that you want to rectify, would you take them down or panel them? Paneling is the easiest and the most cost-efficient way to solve your wall problem. In addition, you can use the panels to protect the wall, customize it, or decorate it. You can use MDF panels, natural wood, and PVC, among other materials. However, the process of installing these panels is the same. This article gives you the five easy steps to follow to revamp your space using these panels.
Step 1: Planning
First, you will have to plan on the material you will use and the tools you will need for the project. There are various ways to go about the installation process. So, finding a suitable design for your house is not difficult. However, should you find it challenging, it would be best if you search for wall paneling designs. The ideas will save you from wasting time and resources that may arise due to trial and error.
After settling on a design, you will assemble tools such as measuring tapes, hammers, glue, and level. You will then measure your walls to know the number of needed panels. Proper planning will help you budget for the whole project properly.
Step 2: Prepare your wall
You will then prepare the wall by removing the previously existing skirting boards. To do that, you will gently use a utility knife and a crowbar to remove the boards. After that, you will sand your walls and remove any particles that might affect the wall panels’ glue adhesiveness. It will be best to ensure that the walls are smooth before attaching your panels.

Step 3: Cut the wall panels
In this step, you will use your wall measurements to cut the panels to fit vertically. This step requires a lot of caution lest you destroy the panels with the wrong measurements. It would be best to involve a professional if you are uncertain how to cut. Note that cutting them short will not only make the process tedious but will also affect the outcome.
Step 4: Attach the panels
After the above steps, you will add a frame on the wall where the panels will be. You will need two panels in each area, the base, and the top. Note that this step requires help because you will mark the wall, apply the glue, then stick the panel to the wall. But while at it, you have to ensure all panels are aligned. You will repeat the process until you are through with the area you are paneling.
Step 5: Apply your finishing
Once the panels are stuck on the wall, you will first fix the skirting boards at the base to protect the area from damage. After that, you will go over your paneled area and fill in gaps that may appear. You can prime it and then let it dry before you paint the wall panels with a color of your choosing. Sometimes, you will need to vanish your work for perfection, although that is optional.
Applying wall panels is arguably the easiest way to maintain or protect your wall. However, the entire process needs proper planning and steps for perfect work. It would be best to start by searching for wall paneling designs, then follow the easy step you have read here for a revamped space.