If your roof is old (approaching 20 years), if you can see daylight through the boards, or if it begins to sag, it’s likely time to install a new roof on your home. Installing a new roof on an existing home isn’t an easy process. We recommend that you contact a professional to help you. If you’re in the Portland area, please feel free to give us a call at Interstate Roofing. We would love to help. Regardless of whether you’re in the area or not, we want to walk you through some basics of how a new roof is installed on an existing home so you can have an idea of what to expect—what do you do first, does your roof pitch require a toe board, what tools do you need, how do you remove the old shingles?
Before you begin the actual installation of the new roof, it’s important that you look into what your local building codes are regarding roofs and that you make sure that you acquire all building permits required.
Choose an Appropriate Roofing Option

Asphalt, slate, and wood shingles are all very popular choices. Out of all of these, asphalt shingles are the most popular. Be sure to talk with your roofing company to learn more about which type of shingles will work best for your home and in your area. Also, be sure to look into composition shingles, which are shingles that have a fiberglass reinforcing mat at the center.
Once you choose which type of roofing material to use, and if you do opt for shingles, figure out how many you’ll need to cover your entire roof. This involves figuring out the surface area of your roof. Once you do this, and before you actually begin to place the shingles, be sure to lay a shingle across the roof so you can get an accurate measure of the length. This will allow you to figure out how the shingles will lay on the roof in terms of width.
Take Proper Safety Precautions

Once you have done all of the preliminary research and choosing, and before it’s time to actually start the work on your roof, it’s critical that you make sure the proper safety precautions are taken. If your roof has a steep pitch, this involves installing a toe board, which is one of the most basic pieces of equipment that a roofer can use. It’s a long piece of wood, usually about 2 inches by 4 inches, that’s nailed horizontally along the roof in various places. The purpose of the toe board is to prevent tools, material, and equipment from sliding down the roof or falling off. It also provides a platform in which to work. Even if a toe board is used, it’s still imperative to plan another means of fall protection, generally a rope and harness.
Investing in a trash container is also a good idea. You’ll need something to throw the old roofing materials into—you shouldn’t just place it in your normal trash. And some roofing material can be recycled, so talk to your local recycling center about what they accept. Make sure you have a ladder tall enough to safely reach the edge of your roof, and be prepared to actually secure it to the roof to avoid any risk of it falling. Depending on your roof, renting or purchasing scaffolding may be a good option.
Remove the Old Roofing

In most cases, the old roofing will be shingles. A good tip is to start farthest away from wherever you placed your trash container. To make the process a bit easier and faster, use a garden fork or a roofing shovel to get under the shingles. You can use a hammer and your hand too, but this will take longer and require more energy. Once the nails are pried up, first loosen the ridge caps and then the shingles.
It’s important to note that shingles can be heavier than they look, especially when they age. It’s good practice to throw them into the trash as you go along, rather than allowing them to pile up and then trying to move them to the trash.
If there’s any metal around the chimney or vents, be sure to remove this as well. Once everything is removed, clean the roof. You don’t want a loose nail to get stuck in the new roofing!
Install an Ice and Water Barrier

Before you can start installing the new roof, it’s important to consider an ice and water barrier. This is critical to protecting your roof and your home from any weather. Ice and water barrier should be installed wherever you want extra protection, such as at penetrations, valleys, eaves and rakes. This barrier tends to be one that sticks to the roof by itself, so make sure the entire section is tacked into place before you peel off the sticky back and let it fall.
Put the New Roof On
Once this is all completed, it’s time to put on the new roof!
First, install flashings and underlayment. If installing a synthetic, be sure to use plastic caps. Metal valleys are also a great upgrade. A valley is where two sections come together to create what looks like, well, a valley. After this, a good trick is to use chalk marks to maintain a straight line where you’re going to lay your shingles.
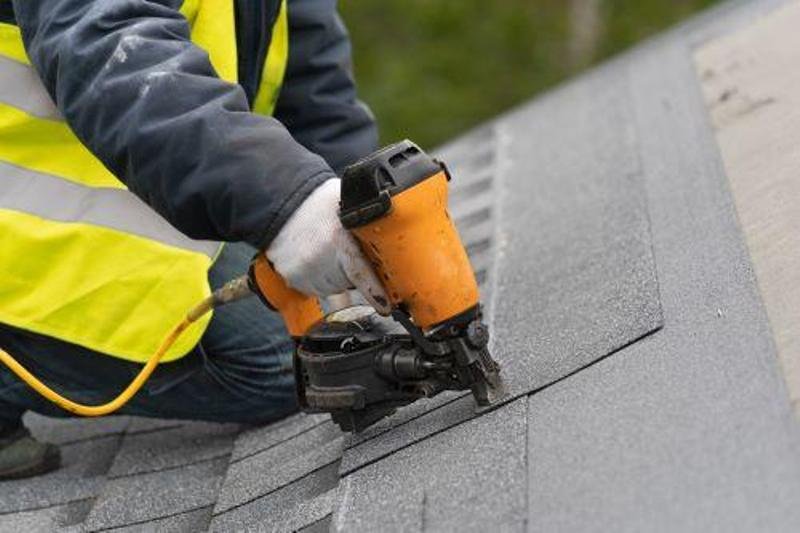
Follow your chalk lines to lay your starter course. Space your nails about six inches apart. After this is laid out, lay the actual first course, followed by the second row of shingles.
This guide is simply meant to provide you with what to expect. If you’re looking to install a new roof on your existing home, we do urge you to speak with a professional roofers near West Fort Worth to ensure the highest quality and safety. This will also help ensure your roof lives its longest life possible.